Tabloid
The classic newspaper format, the most popular.
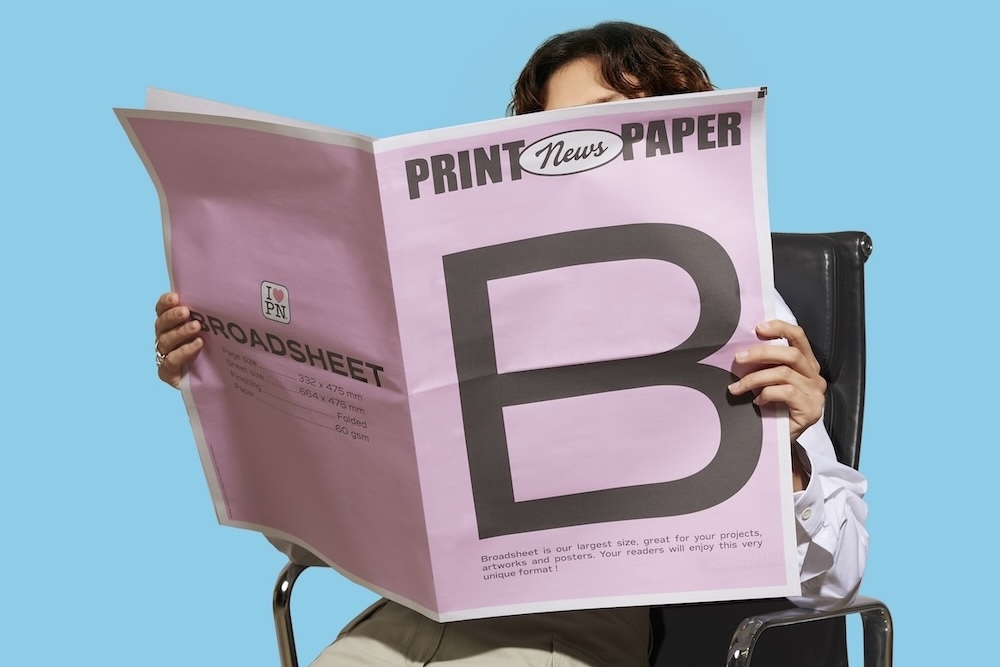
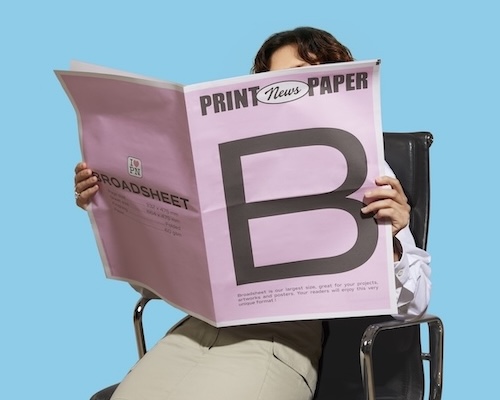
Broadsheet
Large-format newspaper, ideal for impact.


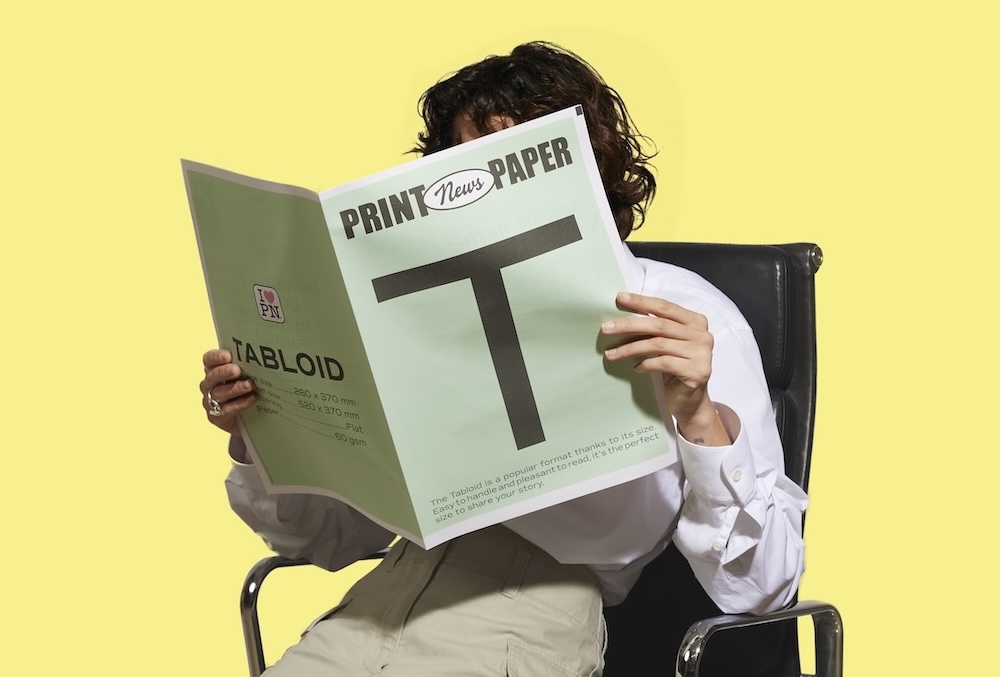
Tabloid
The classic newspaper format, the most popular.
Broadsheet
Large-format newspaper, ideal for impact.

Blog
Coffee, tea, sun, flame, crumpling: what works, the limits, and the press alternative.
Giving paper an aged look means physically reproducing the marks of time: yellowed tones, localized stains, frayed edges, a slight ripple. Five simple DIY methods let you achieve these effects at home, for an escape game, a school project, a themed wedding decoration, a scrapbook or an event set-up. Here are the techniques that work, their limits, and the alternative that wins out when you need an authentic result across dozens of copies.
Escape game and treasure hunt. The aged fake newspaper is a puzzle classic: a fake historical article, a fake headline hiding a clue. The feel of authenticity deepens immersion.
School history project. Recreating a newspaper page from a period being studied (World War I, May 1968, the French Revolution). Aging reinforces the document's realism.
Vintage or retro themed wedding decor. An aged fake newspaper laid on the tables, as a table number, menu or programme. It instantly creates a Belle Époque or Roaring Twenties mood.
Scrapbook and memory album. Adding a patina to the paper on which photos and keepsake tickets are glued.
Fake documents for amateur theatre or film. Stage props, video-production props, magic. Aged props sold by prop houses are expensive; DIY lets you produce them at scale.
The most popular method, for its warm brown sepia result.
Materials. Instant coffee or used coffee grounds, hot water, a wide tray (roasting-pan type), a brush.
Steps. Dissolve 4 tablespoons of instant coffee in 250 ml of hot water. Pour the mix into the tray. Soak the paper for 1 to 5 minutes depending on the intensity you want. Drain it hanging vertically, then let it dry flat on a cloth. For a stronger effect: dab concentrated coffee with a brush on the areas to emphasize (edges, corners).
Result. A warm red-brown tone, almost chocolate. Ideal for an 18th-century "parchment" effect or a fake colonial document. Dries in 2 to 4 hours.
Limit. Coffee can smear inks if your paper is already printed. Test on a corner before soaking the whole page.
The gentlest method, ideal for a subtle vintage effect.
Materials. 3 to 5 black tea bags (Earl Grey or English Breakfast), hot water, a wide tray, a brush.
Steps. Steep the bags for 10 minutes in 250 ml of boiling water. Let it cool. Pour into the tray. Soak the paper for 1 to 3 minutes. Take it out and let it dry flat. To intensify: dab a damp tea bag directly on the paper, leaving small, very realistic concentrated stains.
Result. An ivory-yellow tone, softer than coffee. A "1900-1950 old paper" effect. Ideal for romantic vintage wedding projects.
Tip. Chai tea gives a more orange effect. Green tea gives a greenish yellow, to avoid for a classic result.
The most authentic method because it reproduces the real paper-aging process.
Materials. A south-facing window (or a radiator), and time.
Steps. Expose the paper to direct sun for 3 to 7 days, turning it each day for even exposure. The paper yellows gradually through photo-oxidation of the fibres. Express alternative: run the paper over a hot radiator for 1 to 2 hours, turning it regularly.
Result. Even yellowing, exactly like real old paper kept in a library. It is the most convincing result, but also the slowest to obtain.
Limit. Requires patience (several days). The result is uniform, without the localized stains that characterize a genuine old newspaper.
To create burnt, frayed edges, the emblematic mark of old paper.
Materials. A candle, a container of water nearby, a sink or a non-flammable spot.
Steps. Light the candle. Bring the paper's edge gently toward the flame, without laying it on top. Let the heat scorch the edge, then pull away before it catches fire. If the paper ignites, dip it in the water immediately. Work in small 2-3 cm segments to control the result. Safer variant: use a curling iron or a soldering iron to scorch the edge without a direct flame.
Result. Browned, slightly frayed edges, sometimes rippled. An instant mark of a document that "survived a fire" or was "gnawed by time".
Caution. Handle this method carefully. Work in a clear space, with a water container ready. Never leave the paper unattended during the process.
To add relief, wear marks and natural ripples.
Materials. Your hands, and optionally an iron.
Steps. Crumple the paper completely into a tight ball, then unfold it gently. Re-crumple and unfold 2 to 3 times to get a grid of random creases. Then flatten with a gentle iron (no steam) to set the relief. To intensify: rub the paper against a clean floor or a cement wall to add slight surface wear.
Result. Paper that has visibly been handled, folded, opened and closed several times. A very convincing "found in an attic" effect.
Tip. Combine with the coffee or tea method for maximum effect. Crumple before dyeing so the dye soaks in differently in the creased areas.
No single method reproduces the complexity of a genuine old newspaper. The best approach combines 2 or 3 techniques.
"1900 effect" combination (romantic vintage look). Quick tea soak (30 seconds) + light crumpling + 24-hour drying. A soft, convincing effect.
"Old parchment" combination. Coffee soak (2 minutes) + flame on the edges + moderate crumpling. An "18th-century manuscript" effect.
"Archive document" combination. Sun exposure (3 days) + small concentrated-tea stains applied with a brush + intentional hand creases. An "80 years in a library" effect.
DIY methods are perfect for 1 to 10 copies meant for local use (escape game, school project, decoration for one event). Beyond that, they show their limits.
Time. Aging 50 copies of a fake newspaper by hand takes several days of work. The time-to-result ratio becomes unfavourable.
Consistency. Each DIY copy is unique, with variations. For a set-up where all the newspapers must look identical, that is a problem.
Paper feel. An 80 gsm printer paper aged with coffee is still printer paper. The touch, the texture, the sound of the crumple are not those of a real historical newsprint.
Durability. Wet DIY methods weaken the paper. A coffee-aged fake tears more easily and holds up poorly to repeated handling.
To get a result truly close to an old newspaper without going the DIY route, another approach exists. Printing your project on real 60 gsm matte off-white newsprint gives you, right away, the slightly ivory tone and matte texture that are characteristic of newsprint. With suitable vintage newspaper fonts (Playfair Display, Old Standard TT, IM Fell) and high-contrast black-and-white photos, you get an object that instantly looks like a period newspaper, with no need to age the paper afterwards.
This approach is especially suited to projects that need several dozen consistent copies (vintage-themed wedding, vintage event communication, an anniversary of a historical institution). The cost depends on the chosen format, the number of pages, the quantity and the delivery zone; the online price simulator instantly computes the rate from your parameters.
Choose DIY if: you need 1 to 10 unique copies, your project is a one-off (escape game, school project), and the "physically aged paper" effect matters for the use (treasure hunt, theatre).
Choose press printing if: you need 20 copies or more, you want visual consistency across every copy, and the "real newspaper" effect matters more than "physically aged paper". For a personalized vintage newspaper as a gift, or for a themed wedding newspaper, press printing delivers the authentic result without the manual aging work.